| One great feature of Adobe Photoshop is "quick mask" mode. Usually, to avoid painting over different elements of my work, I think of using the lasso tool to make selections of the areas I want to keep my color inside. BUT, there is an alternative, and one with much more flexibility. In Fig. 1, the picture shows two buttons, located at the bottom of the tool window, just underneath the color selector boxes. These buttons are "Edit in Standard Mode (Q)" and "Edit in Quick Mask Mode (Q)." | 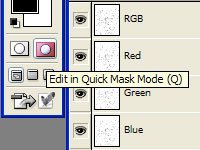 Fig.1 |
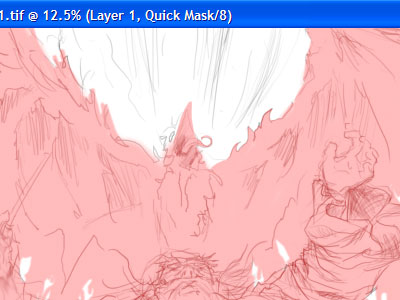
We'll begin with a quick sketch, and enter Quick Mask mode. This mode enables the artist to use any brush to create selections in a new creative way. By drawing in this mode, you are creating a selection area to work with in Standard Mode. The translucent red area of your selection is the area that will NOT be included in the selection. Experiment with different brushes. Try varying opacity, brush size, shape and behavior. You'll be surprised at the effects you can create by changing brush styles! |
| After we have our selection, it's time to go back to Standard Mode. Click the button on the left at the bottom of the Tools window. | 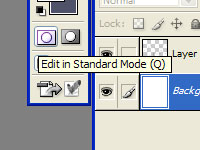 Fig.3 |
 Fig.4 | This takes the quick mask and turns it into a selection. Pretty cool, huh? |
| Now, we can paint our background around the main subject without intruding on it (while you still have your selection, that is.) | 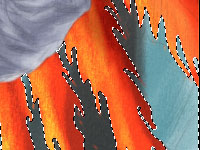 Fig.5 |
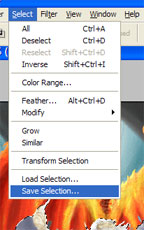 Fig.6 | Now that you've spent all that time creating your selection, it is time to save it for later use. Click on Select>Save Selection... |
| ...And choose a name for the selection layer you want to save. | 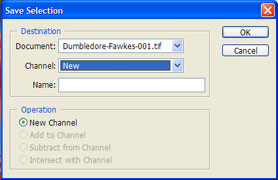 Fig.7 |
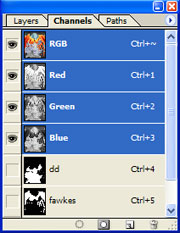 Fig.8 | The new selection layer will now show up under the Channels tab. Now you can [Ctrl]+click to reload the layer as a selection. |
| The nice thing about the quick mask feature is that you can switch back and forth at any time during your painting. You can go back and re-adjust the part of the picture you now want to edit. |  Fig.9 |
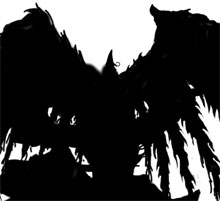 Fig.10 | There is also a lot to gain from using selection layers. As you can see, the composition of your painting begins to become clear. We can now see the negative space much more easily! :) |
1 comment:
That is awsome. i have made a few pictures with photoshop, a few worlds and star scapes but you are really very good.
Post a Comment